5 Writing strategies for the beginning of the school year.
Writing is probably one of the more difficult subjects to teach, in my opinion, but it’s one of my favorites as well. This is a time when students can be creative and let their ideas flow.
Below are some basic writing strategies on how I turned my classroom from students who could barely write their own name, to amazing writers with 3-5 great sentences by the end of the school year.
This post is broken down into 3 different parts. So stay tuned for the next posts that include writing strategies for the middle and end of the school year. This post only talks about writing strategies for the BEGINNING of the school year.
1. Perfecting their name with a 5 color picture:
I always start the year perfecting their name and a drawing 5-color portrait with lots of details.
- I ALWAYS model for them on my document camera (or chart paper) how I begin my name with a capital letter, and then I use lowercase letters for the rest of my name.
- I always use my first name because that’s how it looks for them when they are writing on their paper. I don’t want to confuse them with Mrs. Casady.
- I then go into detail about my picture. It is important that my picture always matches my word(s). Since my writing says ‘Sarah’, what will I be drawing in my picture above? A snake? A dog? A robot? NO! I will be drawing myself because that’s what my word says.
- I like to model drawing a picture by using simple shapes. I use a circle for the head, a triangle for my dress or a square for a shirt, and then I add my arms, hands, fingers, legs, shoes, hair, facial features, etc.
- I make sure to use at least 5 colors to make my picture more interesting.
- I always point out that my person (aka me) is floating on the page. I should add more details to make my picture more interesting. I could be inside or outside. I model drawing details such as grass, sky, sun, and clouds. Now I know my person is outside! This is so much more interesting!
2. Labeling pictures:
I also like to take the time to label my picture and point out what I have drawn. For example, in my picture of myself, I would label the sun.
This is how I would model it for the students:
- I segment the sounds in the word ‘sun’ and count those sounds on my finger. I always try and model from the student’s different levels so I can reach everyone.
- I would point out that I hear the /s/ sound at the beginning of the word sun and maybe I don’t know what letter that makes yet, so I could just make a small squiggle next to it.
- Maybe I do know what letter that sound represents, so I would write the letter ‘s’ next to the sun.
- Or maybe I can sound out more than the first sound and I would model ‘sun’.
- For a word like ‘flower’ that is not spelled phonetically, I would still go through the same process mentioned above except for the last step I would do this:
- I would point out all the sounds I hear and write it like this on the paper next to the flower ‘flor’.
- Then I would let students know that isn’t exactly how to spell ‘flower’ and then underneath I would write the correct spelling for them using a different color pen/marker.
- It is important for the students to see the correct spelling. I always like to walk them through the writing process in their eyes, but in the end, they need to see it done correctly.
You can do this same practice for a few weeks.
Repetition is key and ensures mastery.
- You can switch up the lessons by adding different settings to your person. They could be outside during different seasons, inside their house, at the zoo or park. Just changing up the setting ads for such a variety in their imagination!
- You can give them writing prompts too when they work independently. Draw/write a story of what you like to do at school, your favorite thing to do with your family, your favorite summer activity, etc. They can write their name on the lines provided and then draw a 5-color detailed picture with labels.
3. Starting simple sentences:
When I feel they are ready, I move onto a simple sentence, ‘I am Sarah.’ Before we begin to write, I have my student’s partner share their simple sentence so they are familiar with what they are about to do. Then I begin to model for them on my document camera my sentence. I love using the whole body for sentence structure.
So as a class we do these steps to form our sentence:
- Count the words in the sentence on our fingers. This way we know we will be writing 3 different words.
- For the first letter in the sentence we clap our hands over our heads to show that it’s a capital letter ‘I’ {hands overhead and clap!} Then I write ‘I’ on my paper.
- Between a word we need 2 finger spaces so we hold up to fingers. I model putting 2 finger spaces on my own paper.
- I say the next word ‘am’ and sound it out (since this is a sight word, usually I don’t sound out the whole word – we just know them! But I do like to focus at least on the first sound). I then write ‘am’ on my paper under my doc camera.
- We hold up 2 more fingers to show the spacing as I model this on my paper.
- I say the last word ‘Sarah’ and we talk about the beginning sound that we hear. Some may know the letter, and some may not. I say the /s/ sound is an ‘s’ so I will write that letter on my paper, but before I write the ‘S’ I remind them that I use a capital letter because it’s my name. So we all do the hand clap over our heads to show the capital letter. Then I write ‘S’. I then finish writing my name since we all have perfected our names this past week.
- Last we stomp our foot on the ground to showcase a period, and that it’s the end of the sentence.
4. ‘Mr. Spacer’:
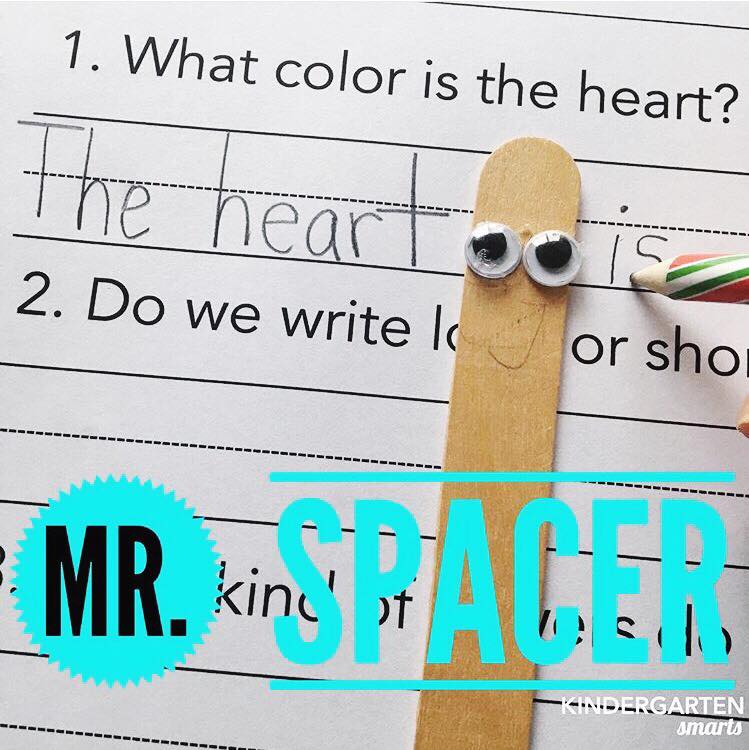
Mr. Spacer is a great tool to help students put spaces between words. This can be used with a big popsicle stick and hot glue eyes onto a stick. I have had so much success with this simple tool!
5. Small Writing Groups:
While the students are working independently on their writing, I like to pull 2 different small groups aside at my teacher table. I group my students by their writing levels. I always make sure to see the struggling students daily. I don’t have time to see all 4 groups during the writing block, so I make sure to rotate the groups accordingly.
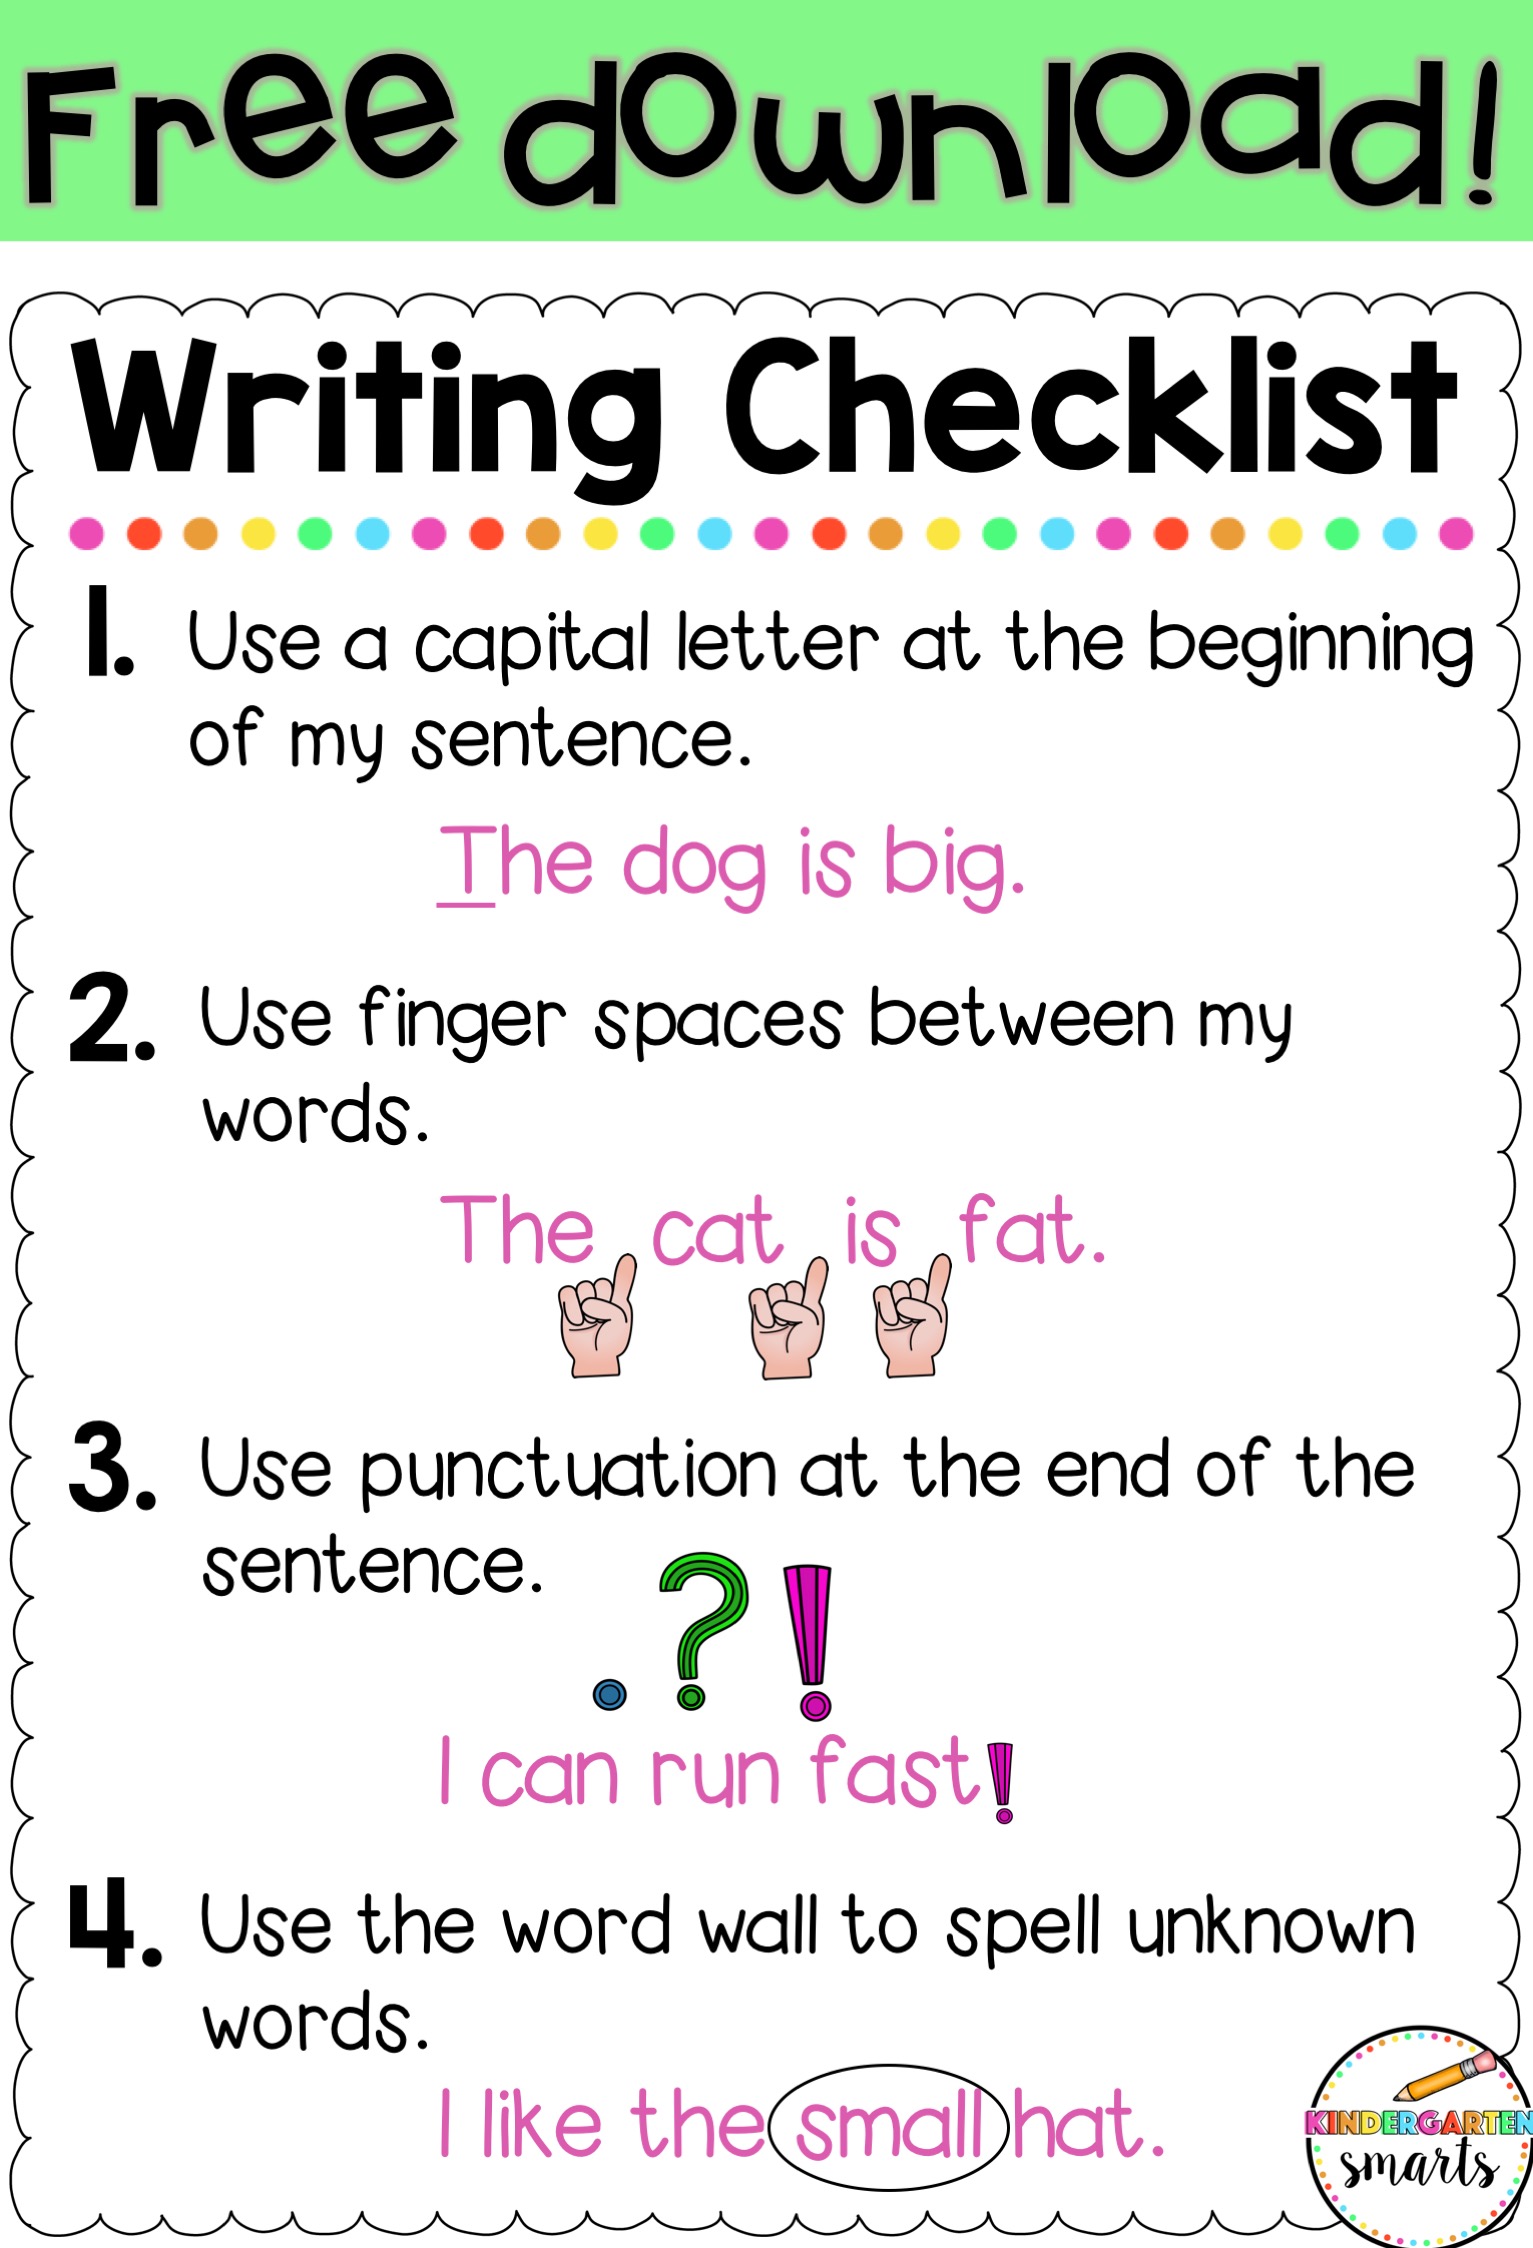
When we work at my table, I guide them with their writing using the writing checklist. (Click on the link to download it for free!)
- We work on the correct formation of letters
- sounding out words
- finger spaces
- illustrations
- and punctuation
- When I pull the higher groups, I like to challenge them by giving them the option to write another sentence, work on their last name, and segment those tricky words to label their picture.
In conclusion:
We work on all these writing strategies and skills mentioned above for the first 2-3 months of school. Then we move on to creating more sentences using our sight words that we have covered during our reading block. Stay tuned for writing strategies for the middle and end of the school year!
Join the newsletter
Sign up for exclusive freebies and teaching tips here!


Leave a Reply