Teaching consonant digraphs to primary students can be a bit challenging, especially after they have finally mastered the rules for sounding out simple CVC words. The fact that each letter doesn’t have a sound can really be confusing to our little learners. This post will give you phonics strategies to help you successfully introduce teaching consonant digraphs.
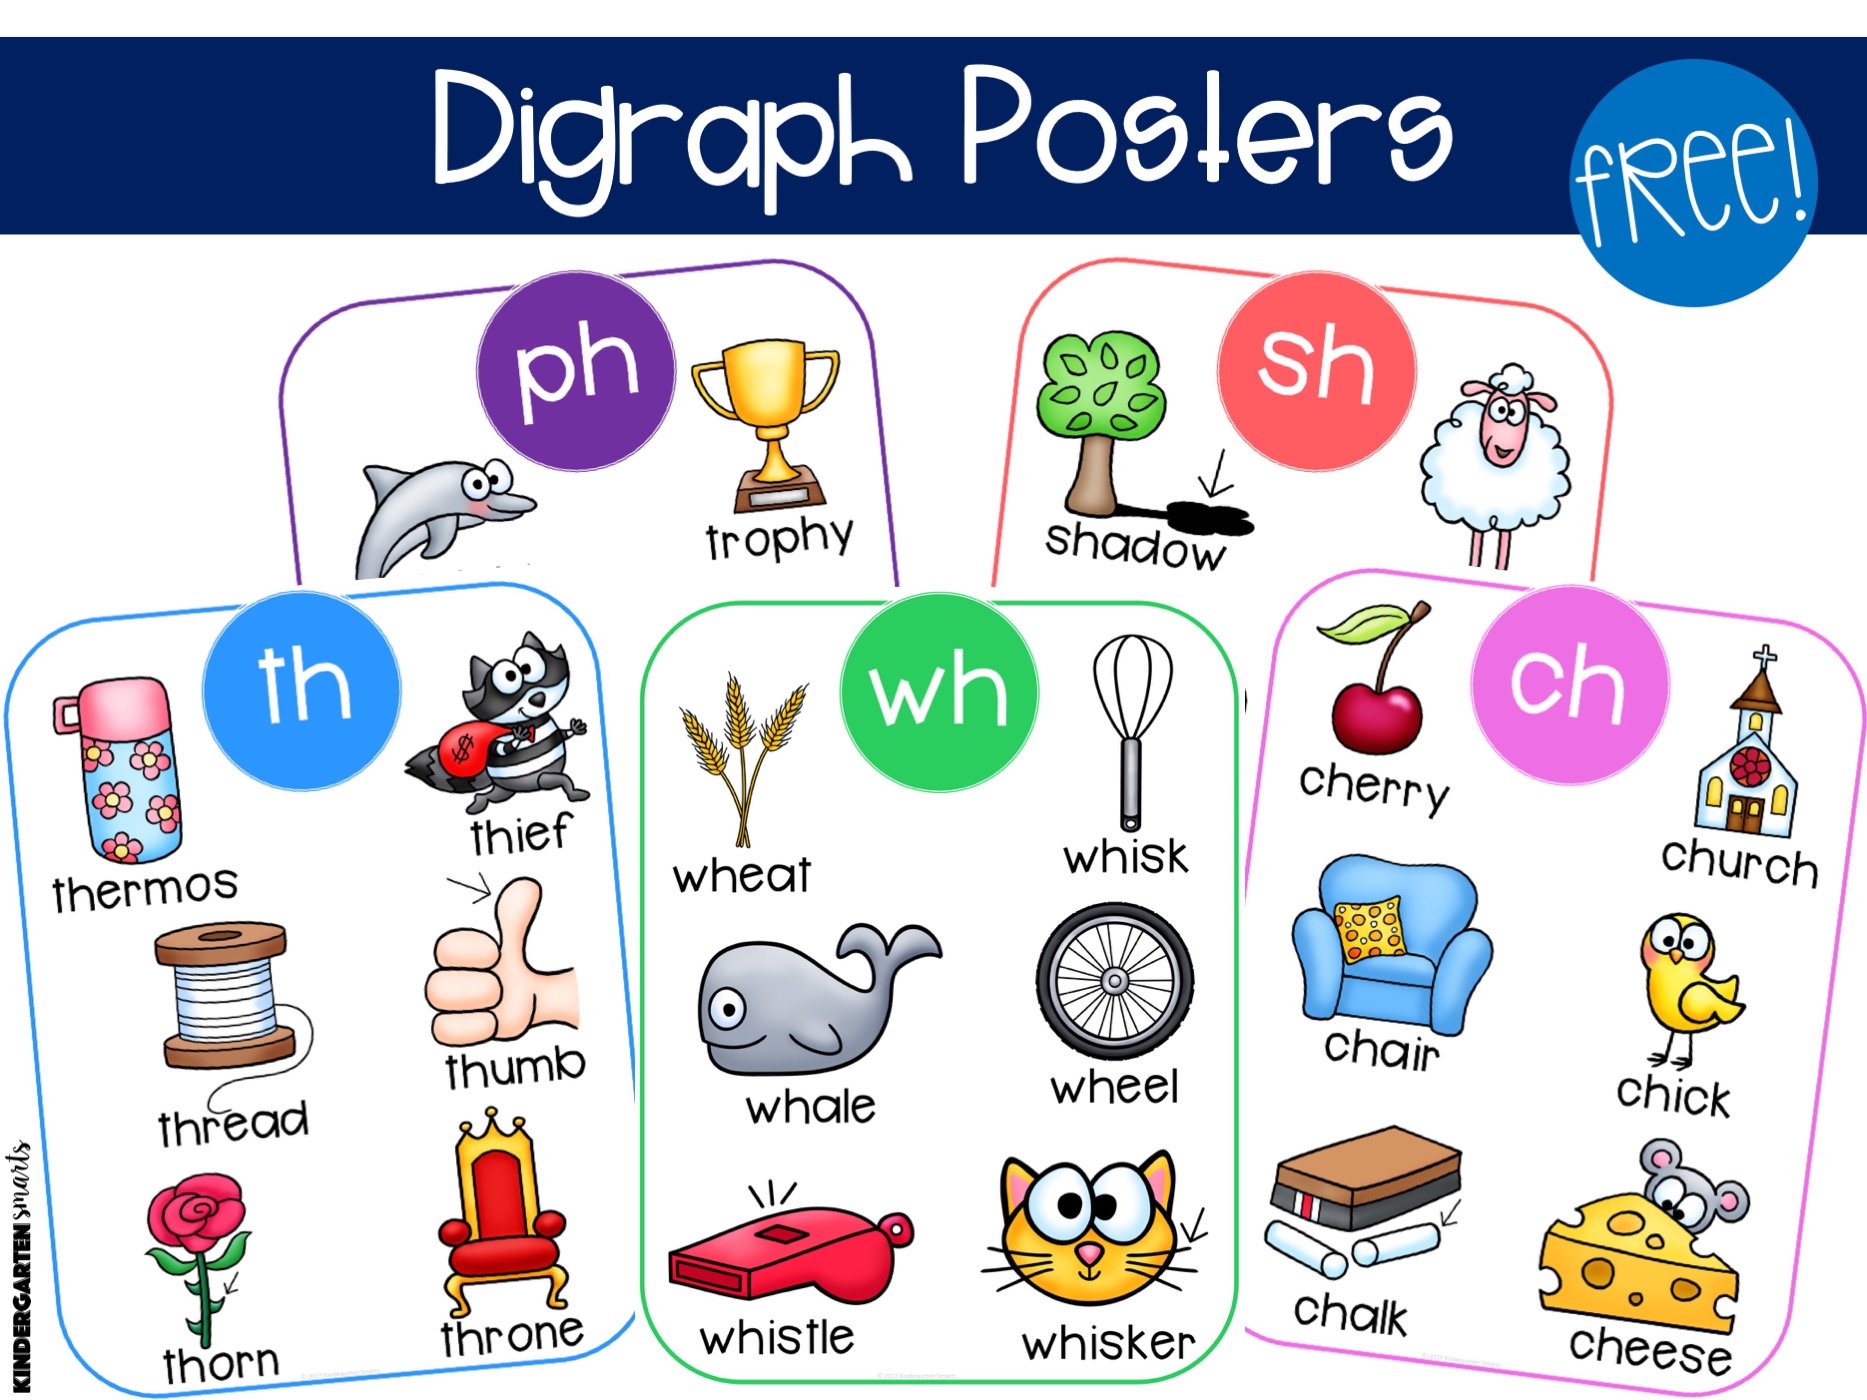
Digraphs are 2 letters that stand together that form one sound. The most common digraphs are: ch, th, sh, wh, and ph. They are 2 consonants that are paired together, and I call them the ‘h brothers’.
Here is a 5 step process on how to introduce these consonant digraphs in your phonics lessons.
1. Anchor Charts
First, start by using anchor charts. They can be placed all on one sheet, or you can print off these freebies that I made. Students can see them all laid out and understand that they will be learning about 5 different digraphs. I like to laminate the posters and use a dry erase marker to write directly on them. So the word stands out to the students, I underline the digraph.
2. Break it down
The next step, it’s time to break it down one consonant digraph at a time.
- I like to use a circle map where you place the digraph in the middle, and as a class, we come up with words together to fill in the outside part of the circle.
- I always try and do a quick sketch of the word along with it. Then I write the word under the picture and underline just the digraph.
- During this time, I like to reference words by having real-life objects to showcase. For example, we can point out a student chair, some sidewalk chalk, a bag of potato chips, etc.
- Each day we cover a new digraph and by the end of the week, we have covered all 5.
- If you feel that pace is too fast for your class, you can always slow it down and draw it out even longer. Do whatever works for you and your students!
- Another option besides using real-life objects, you can always use the cards that I have created in my Digraphs: Lessons & Activities unit.
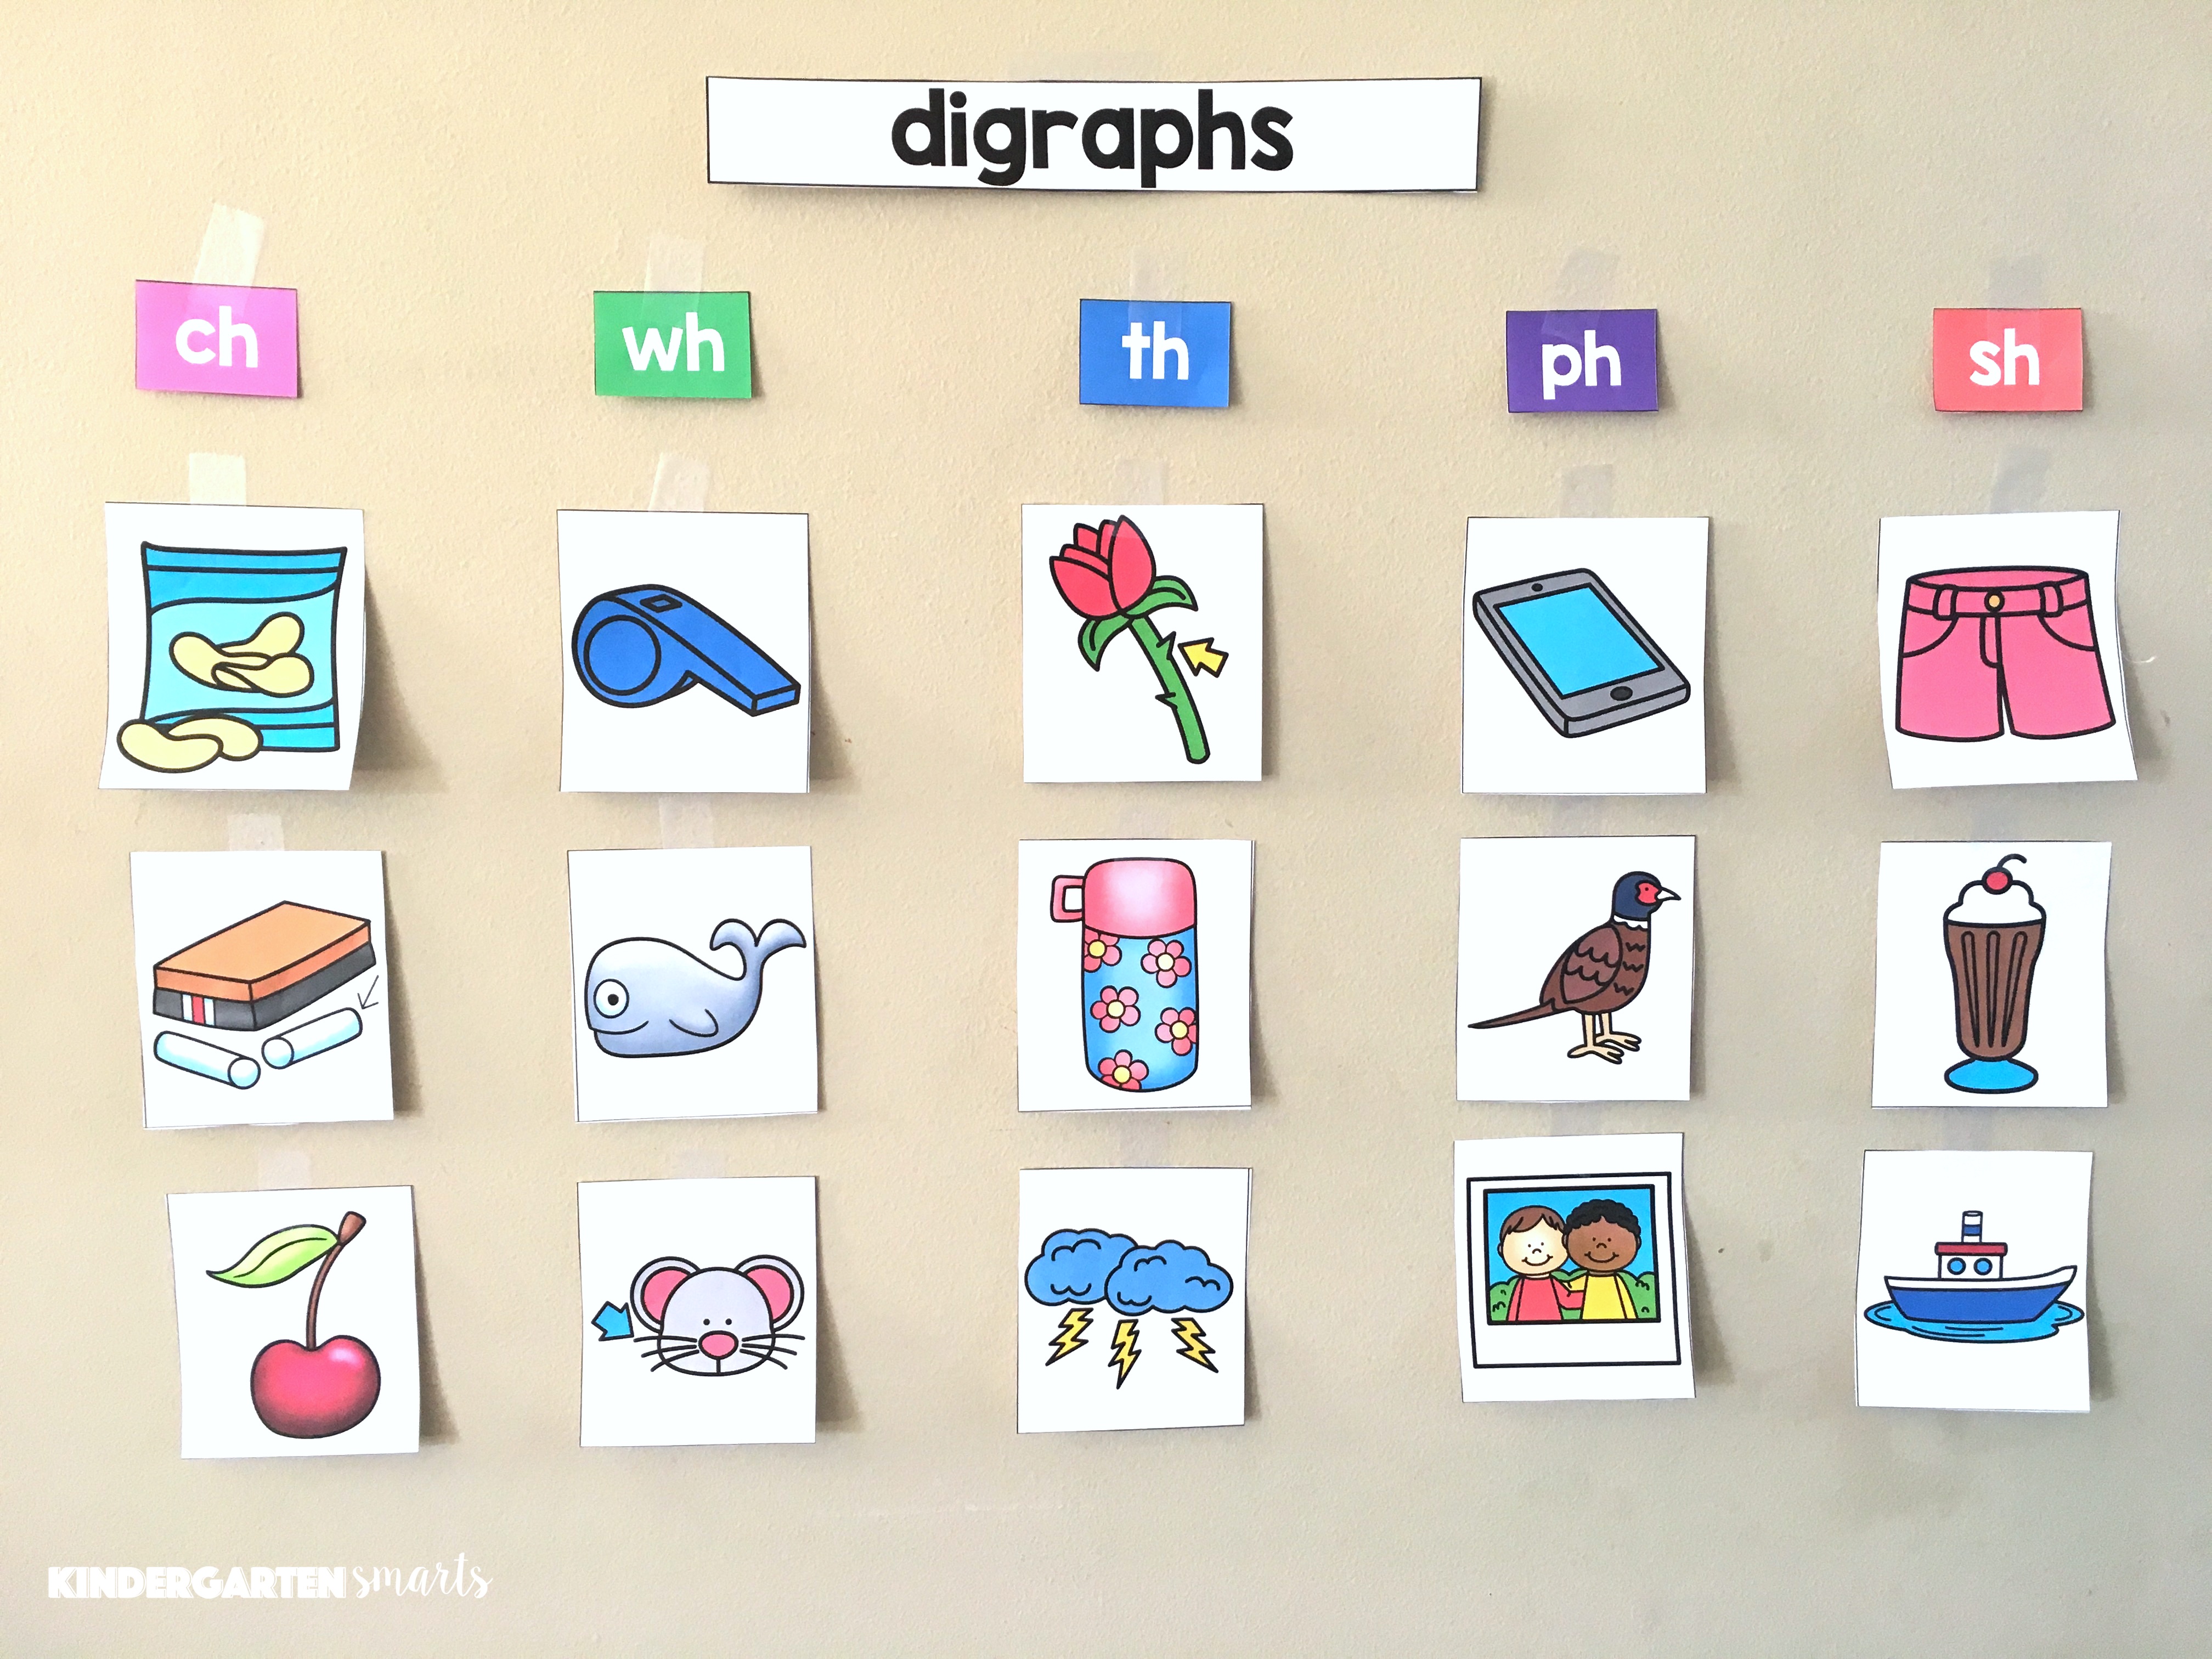
3. Use Picture Cards
Then, I like to bring out cards and sort them on a tree map.
- First, on my whiteboard, I make a tree map with “h brothers (digraphs)” written at the top.
- Then I make a branch for each digraph below.
- I have picture cards of each word, and as a class, we take turns placing them under each branch.
4. Check for understanding
After that, it’s time to check for understanding. I usually do this after we have fully covered the rules of consonant digraphs, and I feel like it’s time for a fair assessment. I like to find creative ways to check for student’s understanding that doesn’t take up too much time. I can see who has grasped the concept and who still needs more time. I work with those struggling students later in a small group.
This is what it would look like:
- First, you can start again by referencing your tree map.
- Then, make sure it is blank and all your cards are mixed up and ready to be placed on the board. You don’t have to do ALL of them at this time, but pick a good variety.
- Last, you give your students 2 different options on how to assess them. This is purely a management piece and how you want to prep for this.
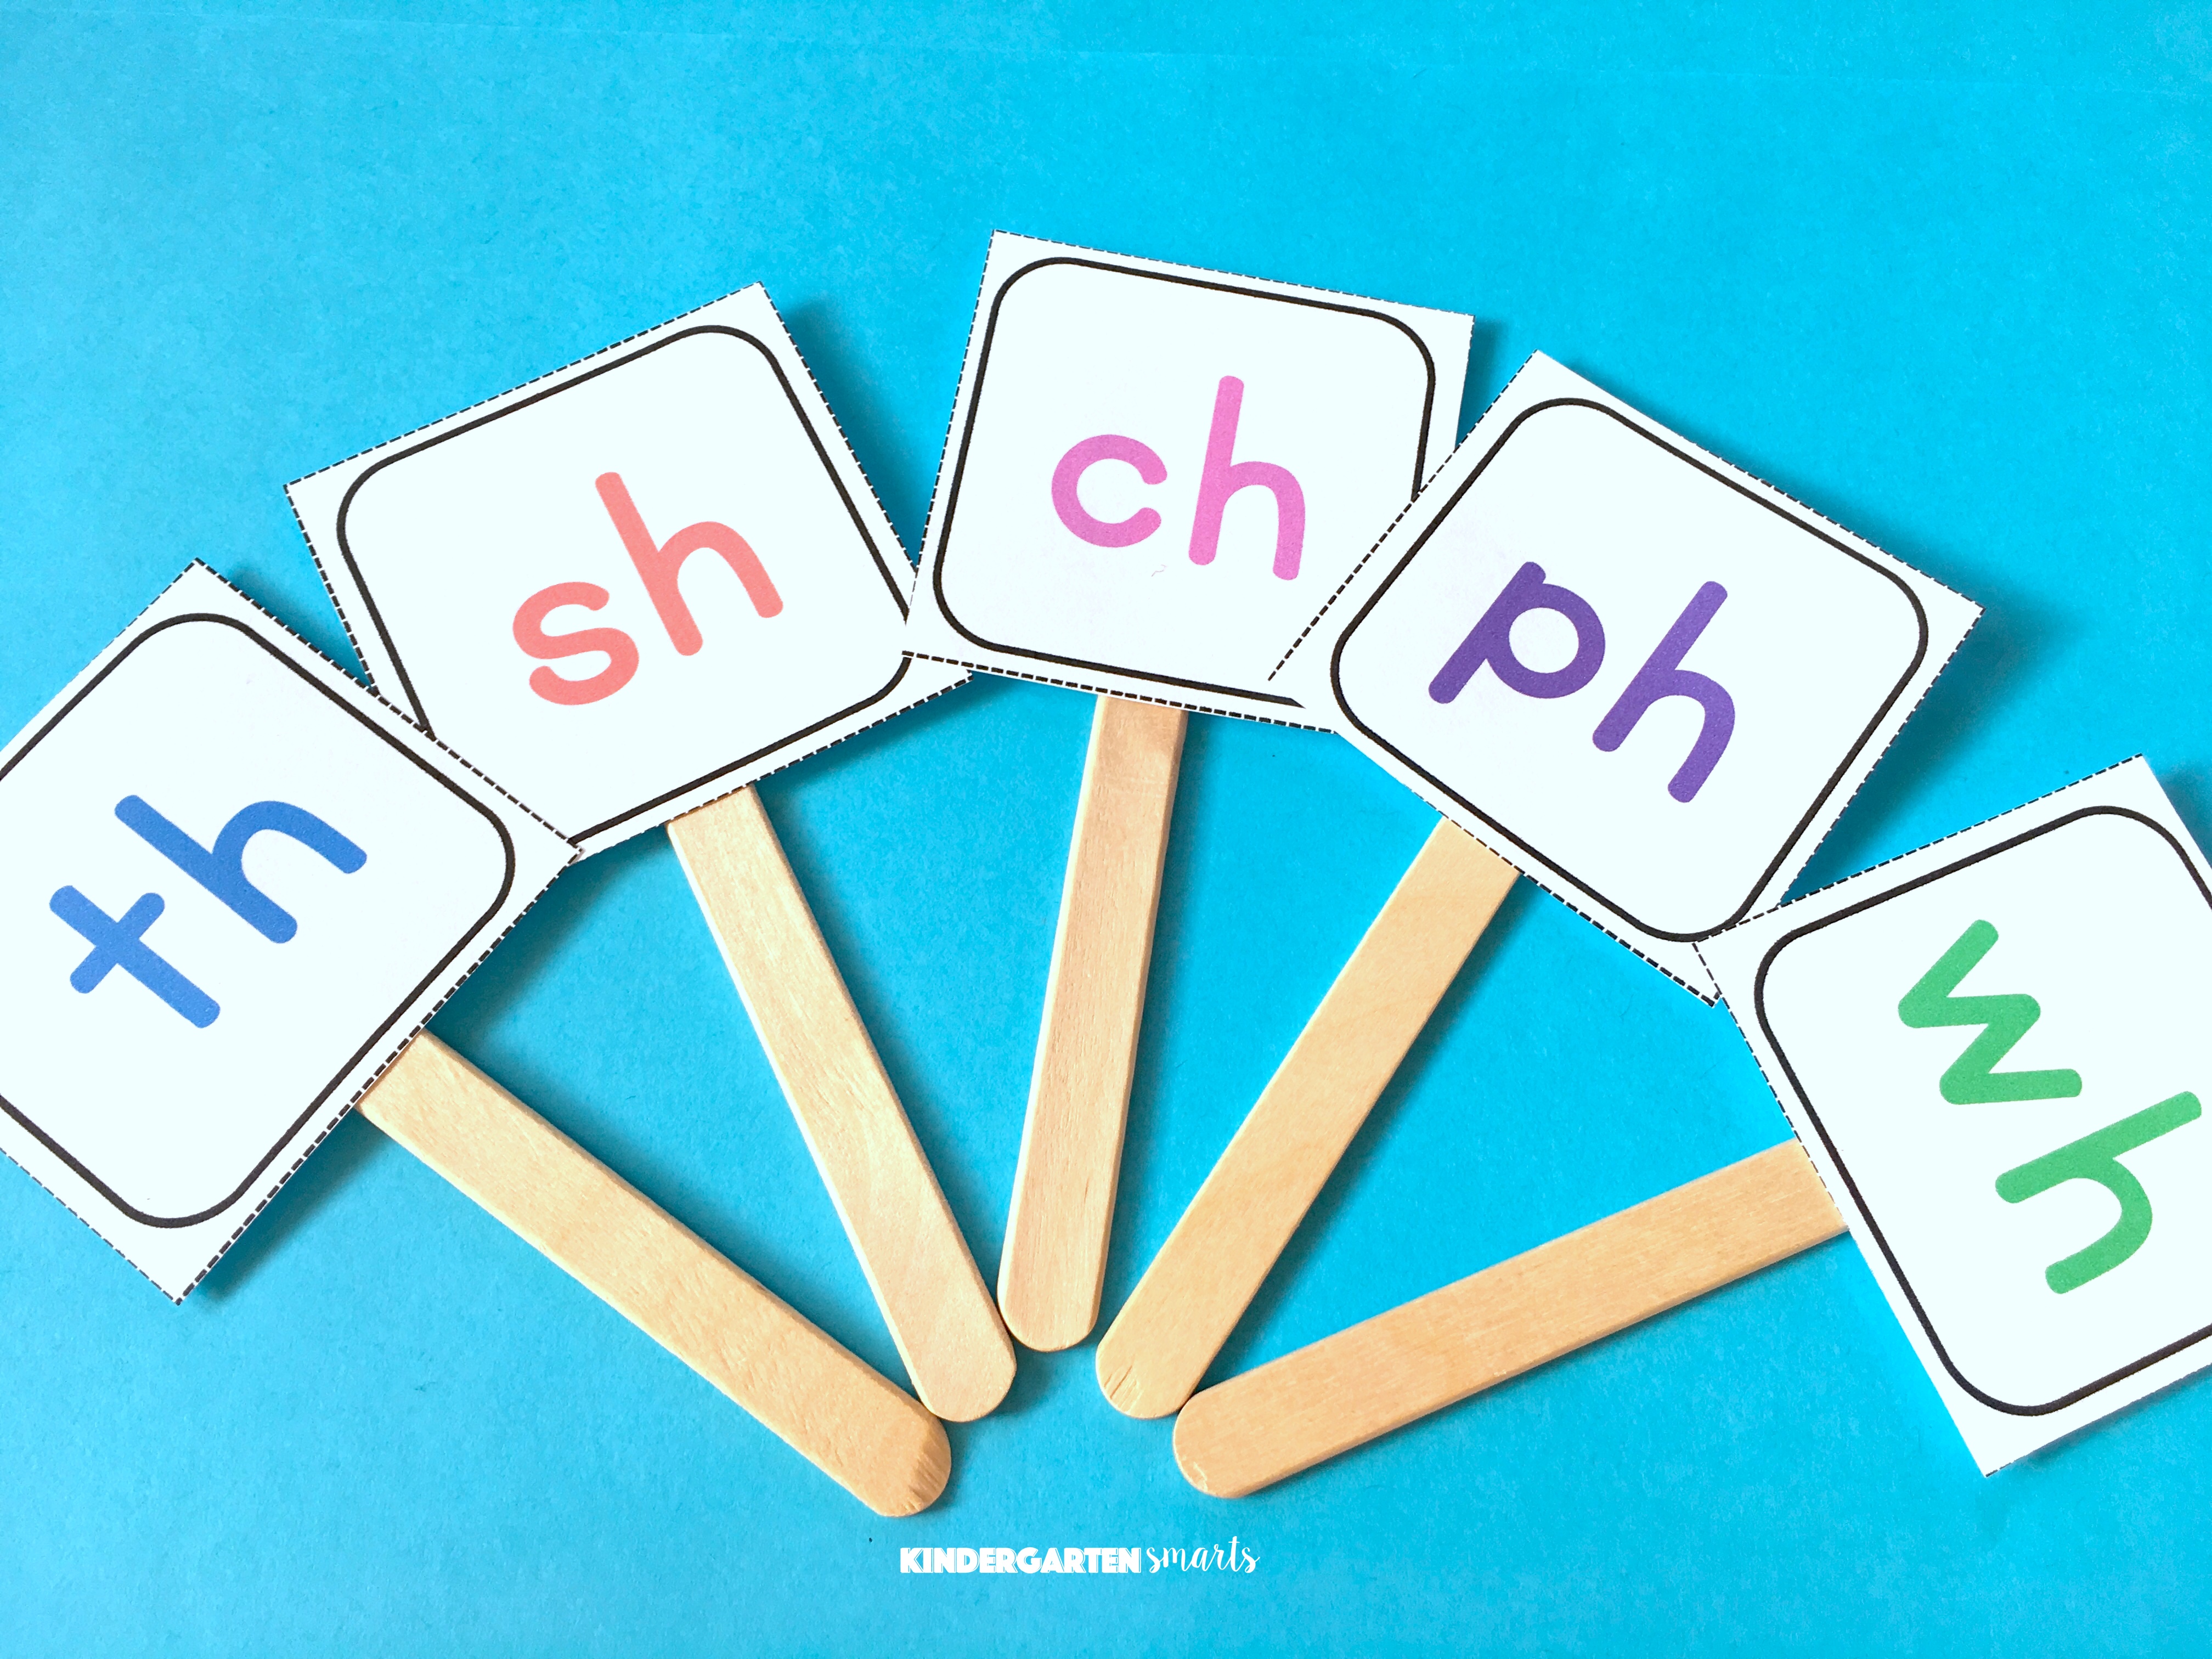
Assessment option 1:
- Use the popsicle sticks that are in my Digraphs: Lessons & Activities unit. They are to hold up the correct stick that goes with the picture card they see. Give the students a few moments to collect their thoughts and then say “3, 2, 1, show me your consonant digraph!” or “show me the h brother!” or something similar to this. Quickly scan to see, and then provide them with the correct answer so they can self assess along with you.
Assessment Option 2:
- This way takes way less prep. Give each student a white board and marker. Do the same process as above, except instead of showing their sticks, the students simply write the digraph on their whiteboard and hold up their answers.
5. Independent practice
Finally, it’s time to give them some independent practice and have them try some activities on their own. I always do this during literacy center time. It is best to have them do this after they have mastered the concept so they aren’t practicing anything incorrectly.
If you would like to purchase the Digraph unit that covers what you have read above, you can find it here in my TpT store!
Digraphs: Lessons and Activities
Here are a few consonant digraphs activities that you can find in my TpT store as well as a complimentary freebie!
Digraph Detectives: A learning activity for your sensory bins
Digraph Sort
Digraph Sentence Practice
❄️Digraph Winter FREEBIE ❄️


Leave a Reply